Are you looking for the easiest way to add different custom product gallery layouts to your WooCommerce store?
You might be selling products of various types and shapes but using the same gallery style for all of them. Frankly, that approach is outdated. Your modern store deserves something better to go ahead of your top competitors and grow sales.
Different types of products require different types of gallery layouts. Let’s see the examples from Amazon.
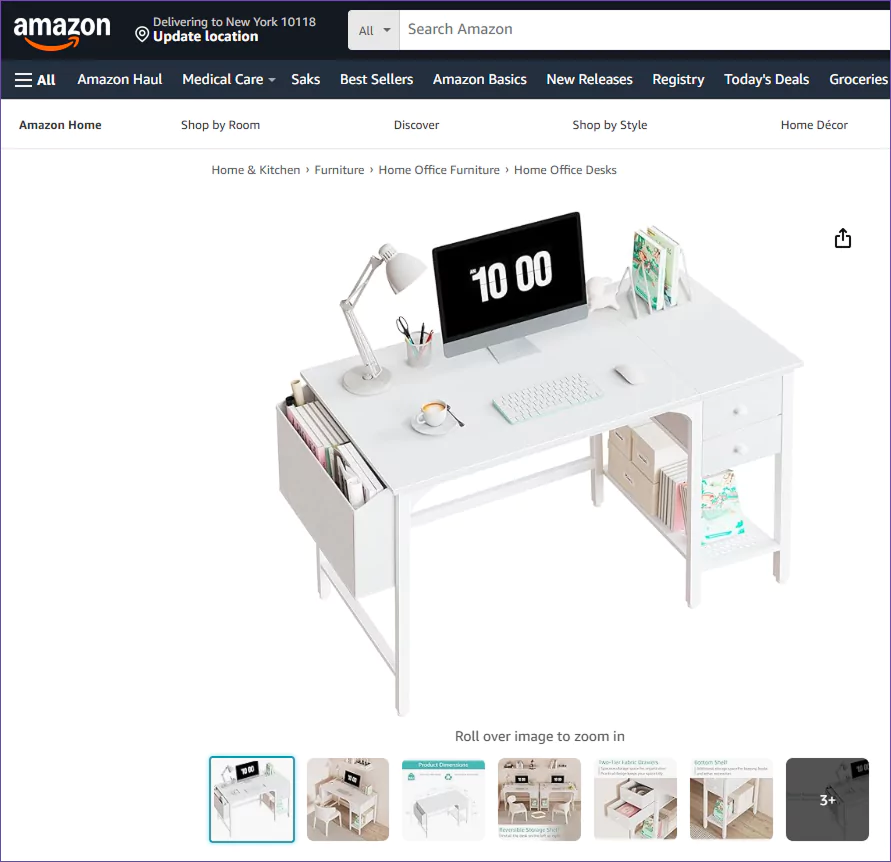
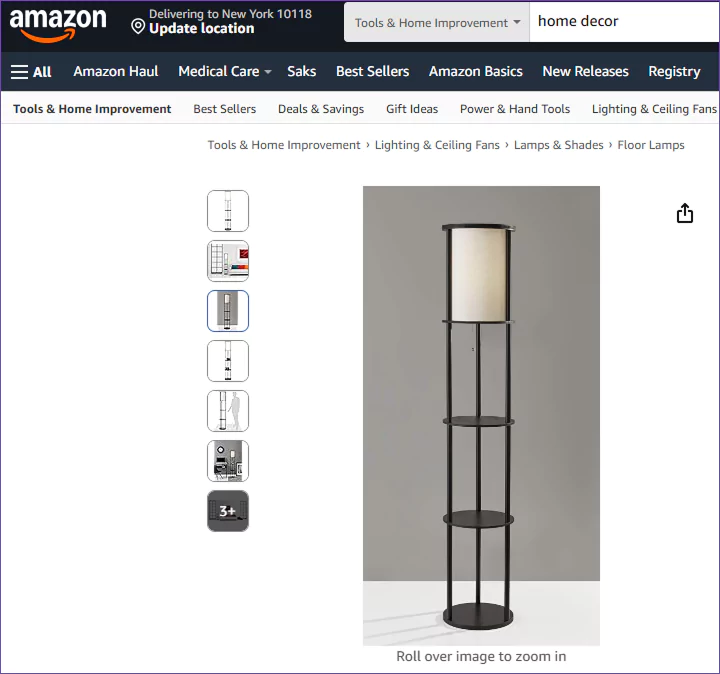
The desk appears more natural in a horizontal layout, whereas the floor lamp is better suited to a vertical gallery.
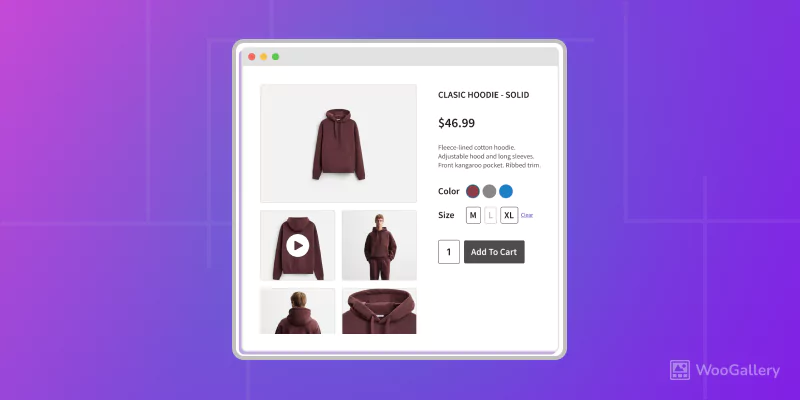
Not only those two; many more modern product gallery layouts are now used by the world’s top brands. You can also use them based on your product shapes, modern looks, and customers’ preferences.
Choosing the correct layout ensures each product is presented in the most visually compelling way that boosts sales.
Let’s get in.
3 Simple Steps to Add Custom Product Gallery Layouts in a Single Woo Store
Step 1: Get WooGallery
WooGallery is a complete product gallery plugin for WooCommerce. Thousands of businesses use this plugin to upgrade their product gallery and grow sales.
In addition to adding different custom product gallery layouts per product or category, WooGallery offers:
- 16+ modern layouts used by the world’s most prominent brands
- Horizontal and Vertical Thumbnail slider gallery layouts
- Adding product Videos to galleries, shop pages, and archives
- Additional variation image and video gallery
- Advanced product image Zoom & Lightbox
- Easy migration and export/import options
Watch the following video to learn more about WooGallery.
Let’s install WooGallery.
Step 2: Create Custom Product Gallery Layouts
WooGallery offers you a wide range of robust features and easy customizations. You can customize your store to suit your preferences using the Global Settings.
After configuring the global settings according to your store’s brand style, follow the steps below.

- First, click WooGallery on your WordPress admin sidebar.
- Then, click Manage Layouts.
- Click the Add New Layout button and have the following screen.
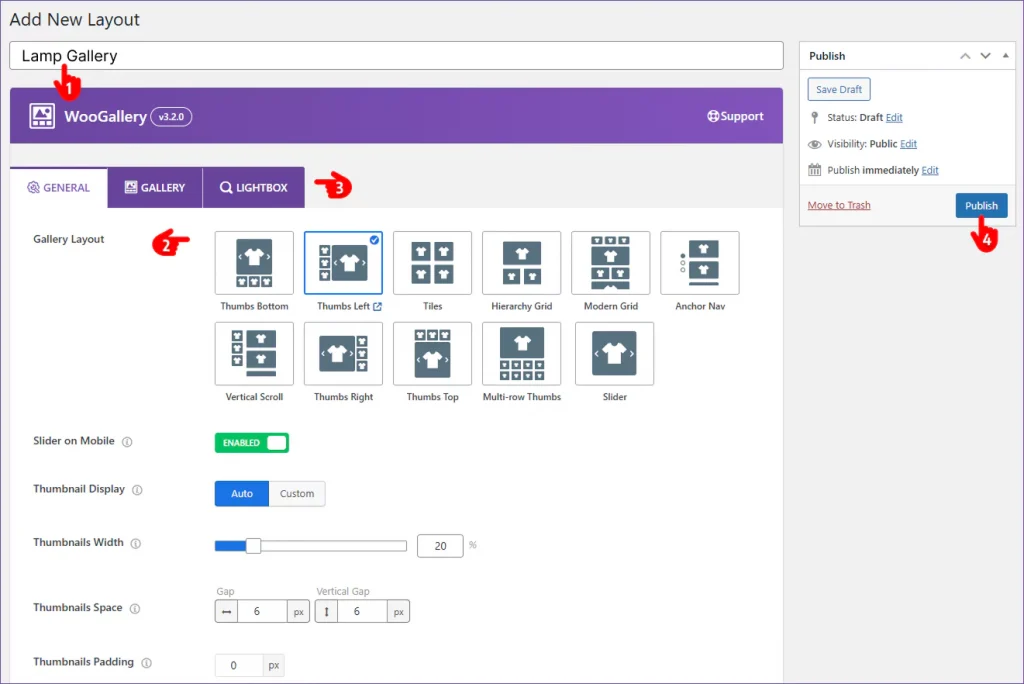
- First, name your gallery with the product or the category name.
- Choose the best gallery for your specific product or category.
- Customize everything according to your global gallery styles and additional preferences.
- Finally, hit the Publish/Update button.
This way, you can create unlimited individual custom product gallery layouts.
Step 3: Assign the Layouts to the Products or Categories
You’ve already created one or more individual gallery layouts. Now, it’s time to assign each layout to its product or categories.
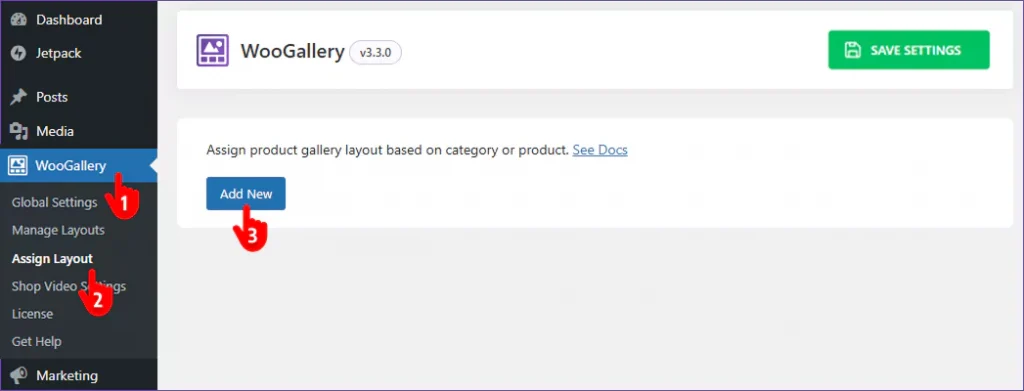
- Click WooGallery again.
- Then, click Assign Layouts.
- Then, click Add New and find the following options.
Follow the next steps.
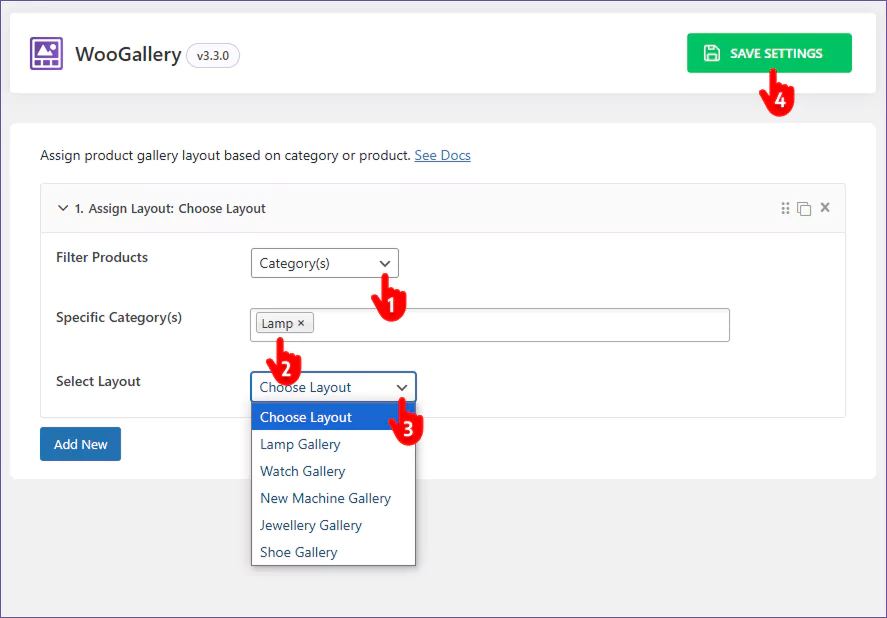
- Filter by product or category.
- Pick the specific product(s) or category(s).
- Select the custom gallery layout you want to assign to the filtered products.
- Finally, hit the SAVE SETTINGS button.
You can also assign a product gallery layout while adding or editing a product. There is a simple option to choose a gallery layout on the right sidebar of a product form.
With WooGallery, you can bring revolutionary improvements to your product galleries and grow sales.
So, let’s enhance your product galleries with the perfect custom individual gallery layouts and boost sales today.
Leave a Reply