Does our support team need to log into your site in order to troubleshoot an issue? Providing site logins is common practice for efficient and effective support. However, this doesn’t mean you have to share your own user logins.
In this tutorial, we’ll show you how to temporarily create a WordPress user, which you can subsequently delete after getting the assistance you require.
Creating an Admin User in WordPress
To get started, you’ll need to log into your WordPress site. In the left menu, go to Users » Add New. This will open up a form for creating a new user.
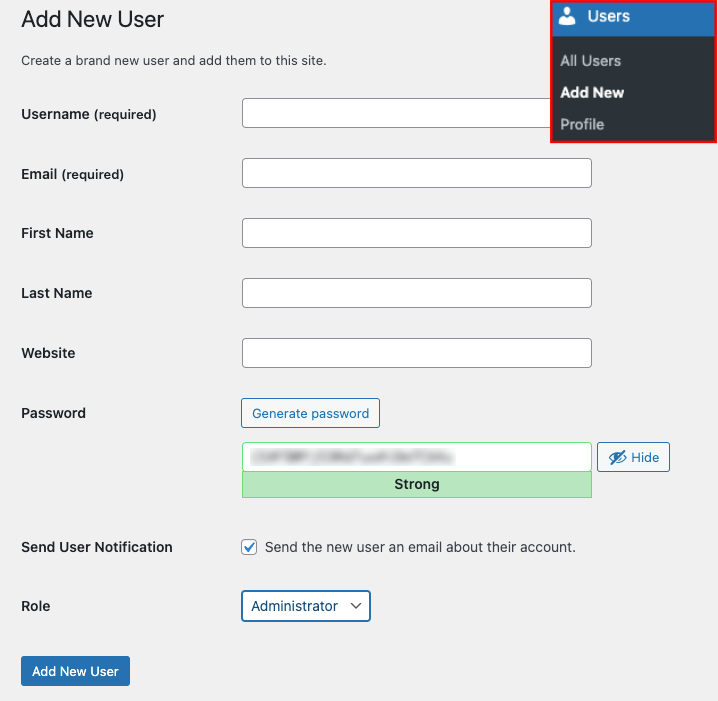
By default, most of the details in this form are not required. Here are the fields you’ll need to fill out and what to enter:
- Username: ShapedPlugin
- Email: support******@gmail.com
- Role: Administrator
Then, be sure to add a strong password of your choice. If you prefer to have a password generated for you, click the Generate password button.

Now, go ahead and open up your email with our support team. In your reply, you can copy and paste the Username and Password from your form.
Once all of these details have been added and you’ve copied the credentials to share with support, go ahead and click the blue Add New User button.

Deleting the Temporary User
After you’ve received the support you need, you’ll most likely want to delete the WordPress user you’ve created in the step above.
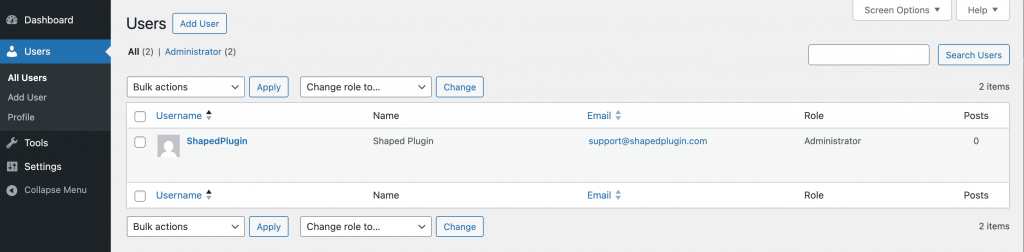
To do that, you’ll need to reopen the WordPress Users page by clicking on Users » All Users in the left menu.
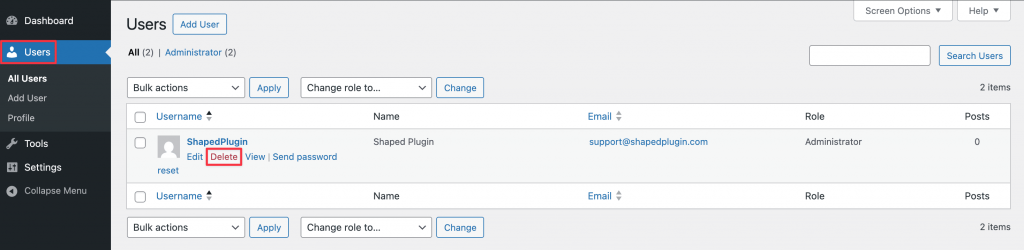
Then, simply hover over the user you want to delete. This will display an additional menu of options. Within these options, click Delete.
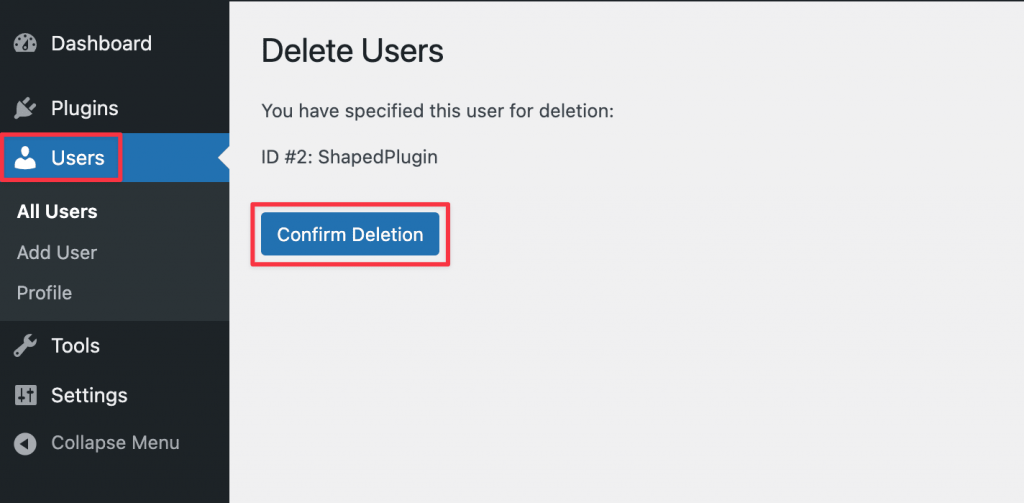
After selecting the Delete option, you’ll see a confirmation page. You’ll need to click Confirm Deletion to proceed.
That’s it! You can now create a temporary admin user to share with our support team.
If you’d like to try some troubleshooting on your end, please be sure to check out our troubleshooting guide for all of our recommended steps.